Tutorial
This tutorial will guide you through all the steps needed to (i) annotate text using different ontologies, (ii) load your own text files (.txt, .doc, .docx and .pdf), (iii) save and load annotated texts and (iv) annotate all the documents in a directory using the BeanShell scripting capabilities.
Contents
1 Basic text annotation
1.1 Text introduction
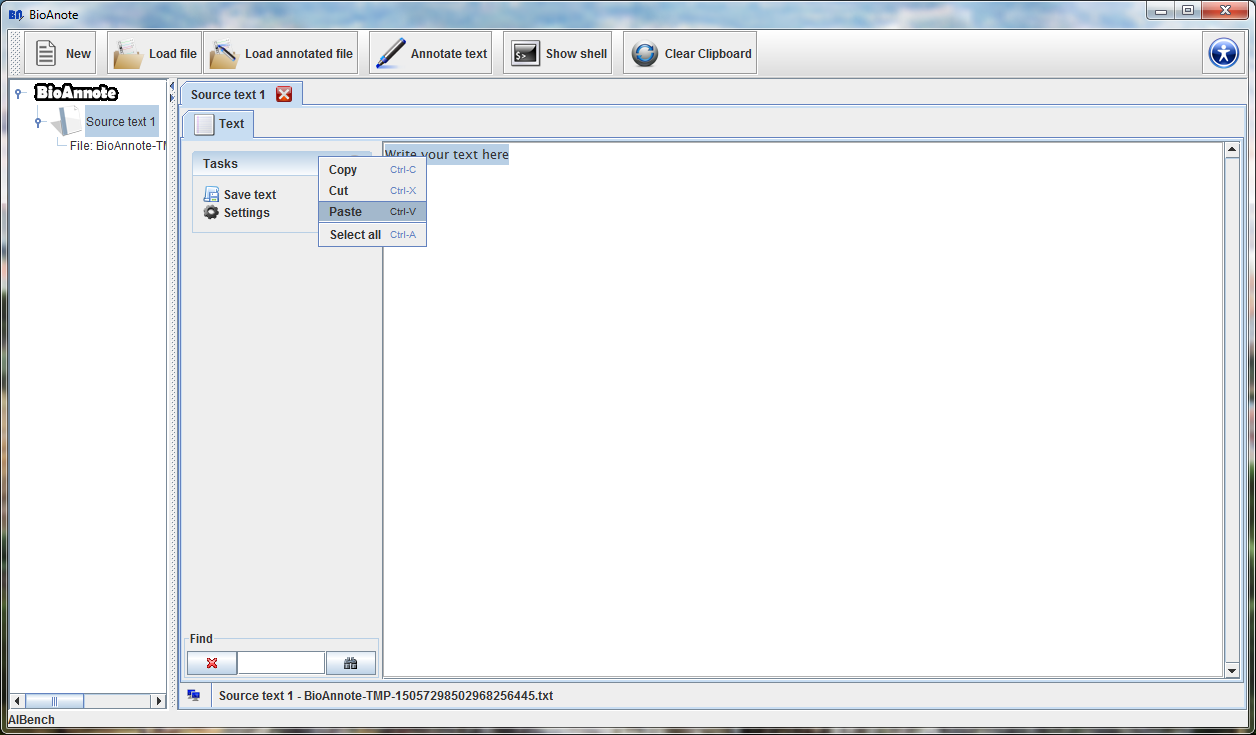
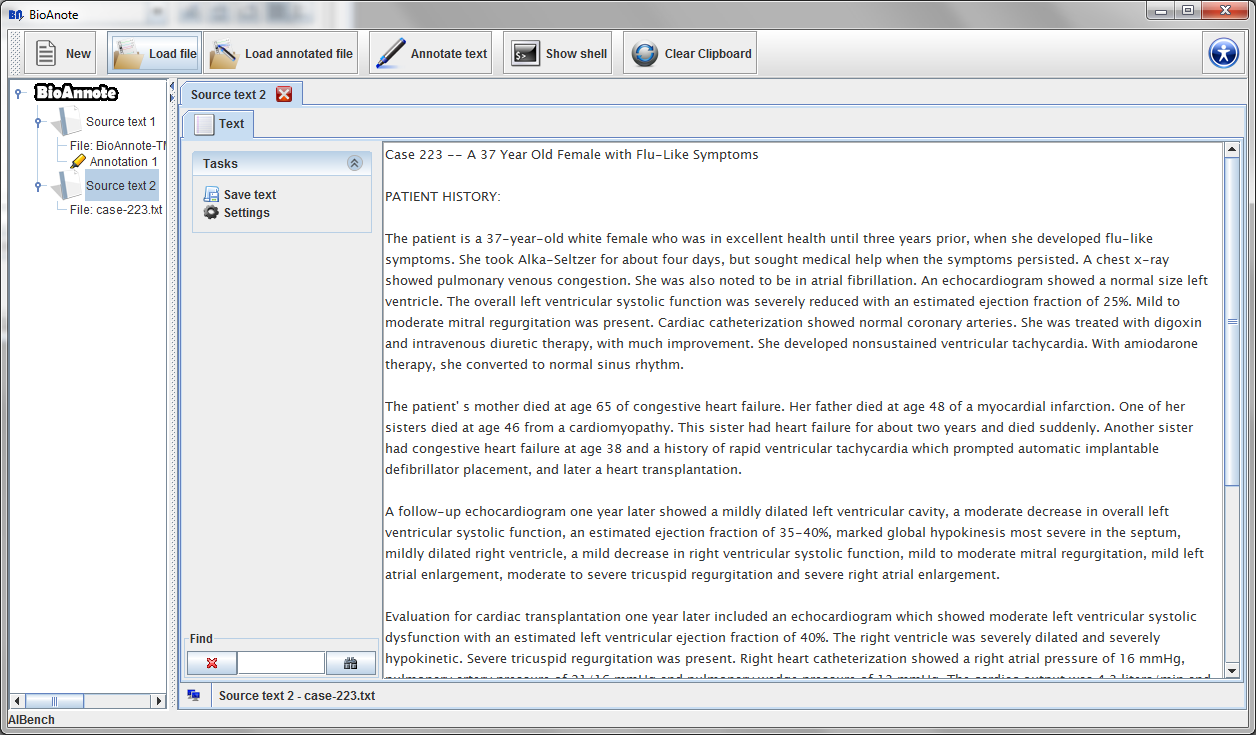
Press the "New" button on the toolbar.

Automatically a new Source text is created in the data
tree and you can see it in the center of the screen. In the tab Text
you can type or paste from the clipboard the text you would like to
annotate.
Note that if you close the view of this Source text view
without saving the text, you will loose it. The button  allows you to save the text introduced in a text file.
1.2 Text annotation
Press the "Annotate text" button on the toolbar.
A dialog will appear:

You have to provide the following information:
This dialog allows you to choose:
- Source text: The Source text item from the data tree that you want to annotate.
- BioAnnote server ontologies: Ontologies provided by the BioAnnote server you want to use to annotate the source text. Currently there are available MedlinePlus and Freebase.
- NCBO ontologies: Ontologies from NCBO you want to use to annotate the source text.
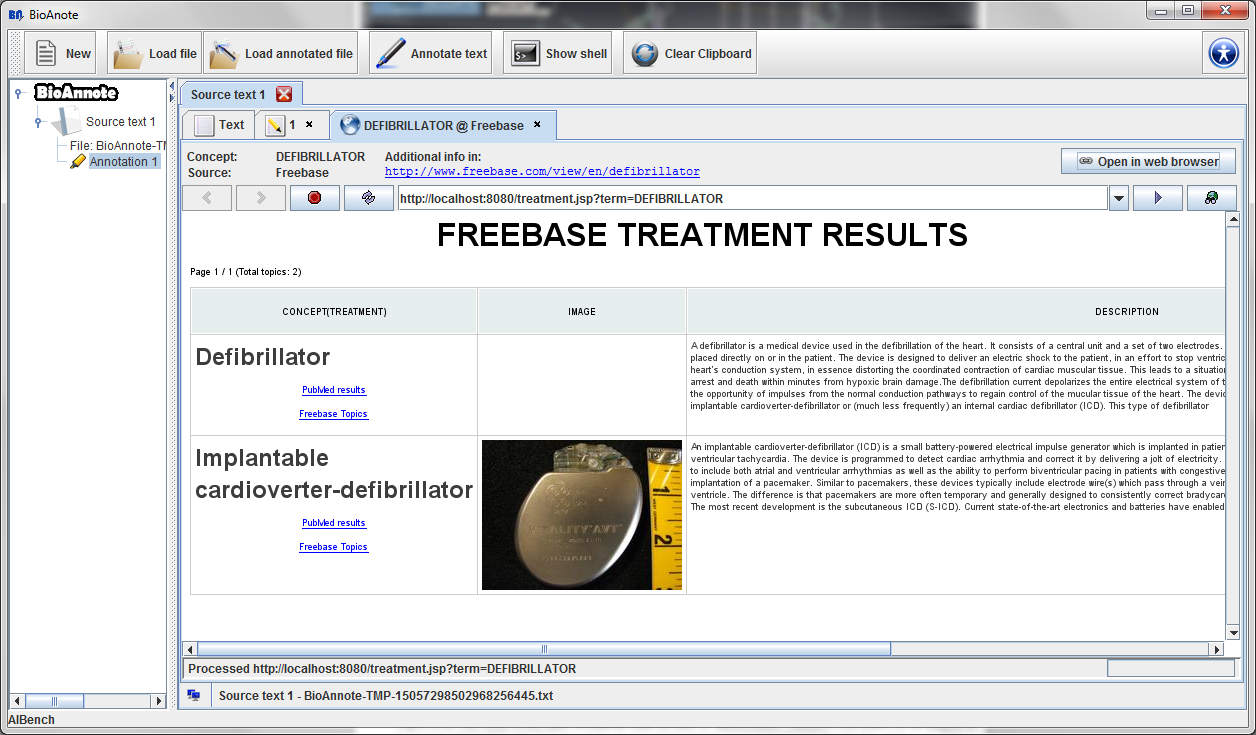
While the annotations are retrieved a dialog will inform you of the
progress. After the annotations are ready, they are added to the
data tree as child of their correspondent Source text and
a new annotation tab is added to the Source text view.

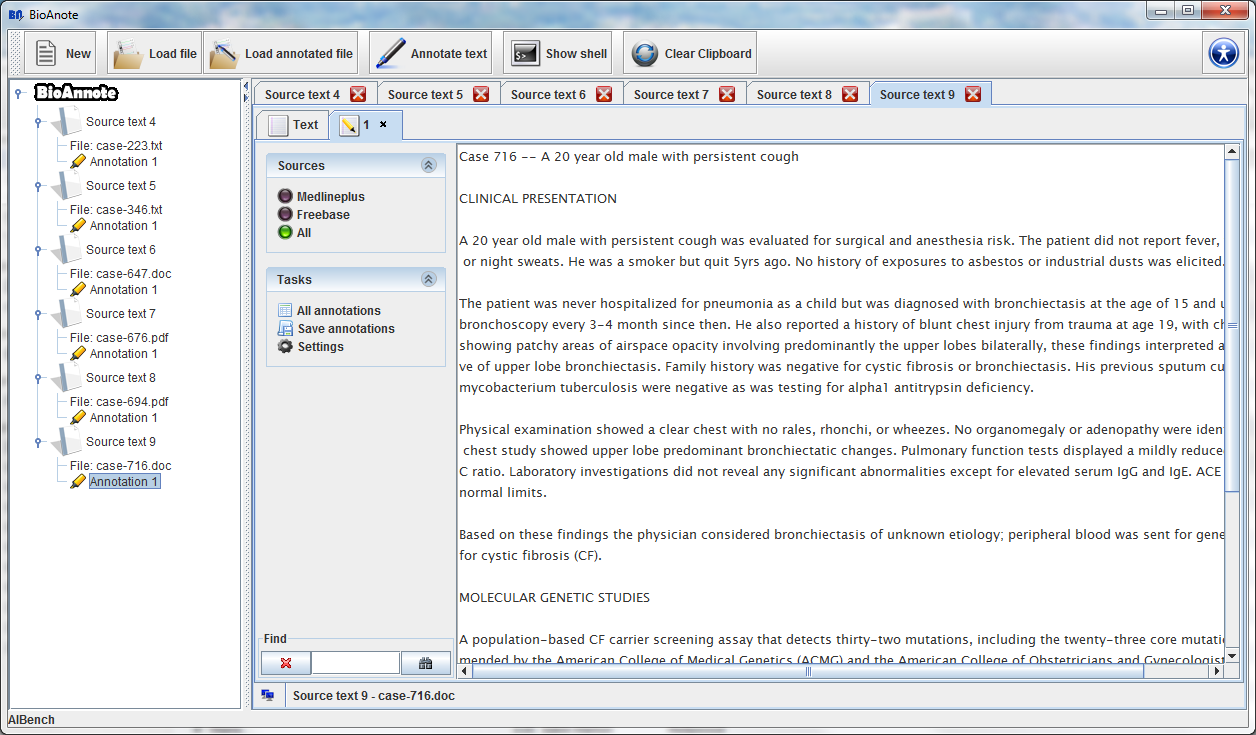
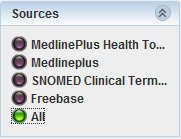
Now, the Sources panel allows you to select the ontology which you want to use to annote the text or highlight the text using all the annotations retrieved.
1.3 Browsing annotations
The button  allows you to see all the annotations retrieved in a table.
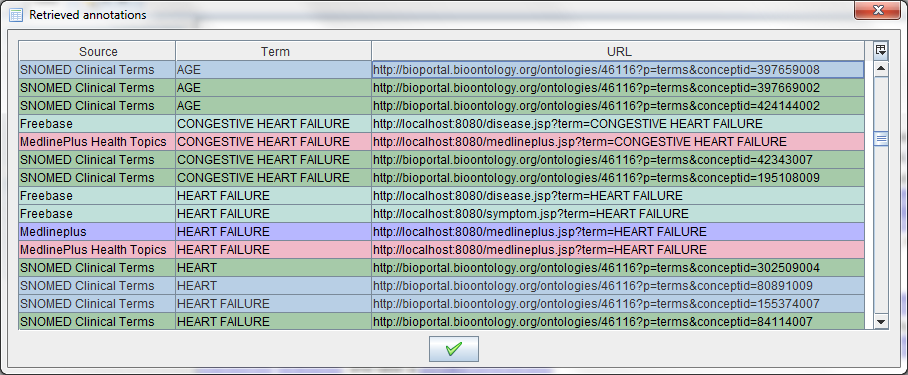
The highlighted terms are linked to an URL, which can be (i) local, in the case of MedlinePlus and Freebase annotations or (ii) remote, in the case of annotations from NCBO ontologies. By clicking over a term its associated URL is opened in a new tab.
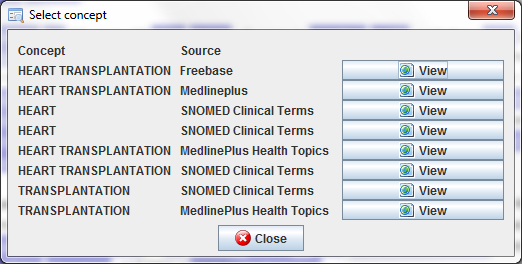
Note that a highlighted term can be referring to several terms. For example, when the text is annotated using all ontologies may ocurr that this term have retrieved by many ontologies. In this case, a dialog will appear in order to allow you selecting which one you want to open.
2 Load files
BioAnnote support text loading from plain text files (.txt), Microsoft Word files (.doc, .docx) and PDF files.
Press the "Load file" button:

A dialog will appear:
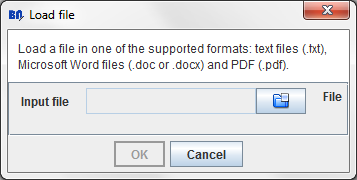
Clicking the  button a dialog to select the file will appear:
After the quantification data is loaded a new Source text associated to the selected file is added to the data tree and you can see its view in the center of the screen.
3 Save/load annotations
3.1 Save an annotated text
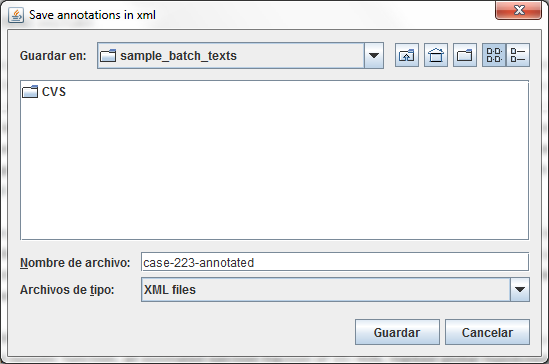
BioAnnote allows you to save your annotations in .XML for further
uses, avoiding re-annotating the text. To do this, situated in a Annotation
tab ( ),
the
),
the  button allows you to save the current annotations.
3.2 Load an annotated text
BioAnnote allows loading annotations that has benn saved previously.
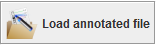
Press the "Load annotated file" button on the toolbar:
A dialog will appear:
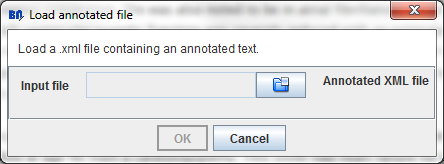
Clicking the button a dialog to select .xml files will appear:
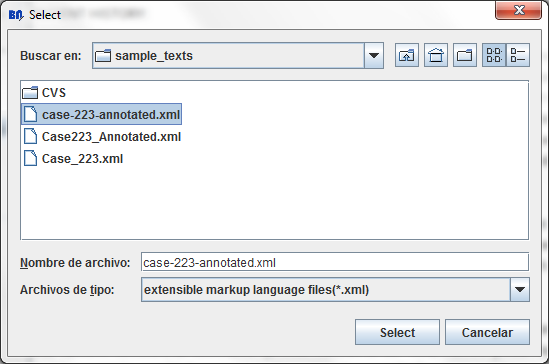
Automatically a new Source text that contain the text and
the annotations saved is created in the data tree and you can see
it in the center of the screen.

4 Batch annotation
4.1 Configure the script
BioAnnote allows performing the annotation of all the documents in a given directory. To do that, a simple script is provided at scripts/batch_annotation.bsh.
The user just have to modify the following lines in order to set the directory where the documents are stored, and the type of annotation to perform.
					//***** Set the input directory ********
					directory = "C:\\texts_directory";

					//***** Set the annotation parameters ********
					String[] bioannoteOntologies = {
						"Medlineplus", "Freebase"
					};
					String[] ncboOntologies = {
						"MedlinePlus Health Topics", "Ontology for Biomedical Investigations"
					};
4.2 Running the script
Press the "Show shell" button on the toolbar:
The shell window is opened.
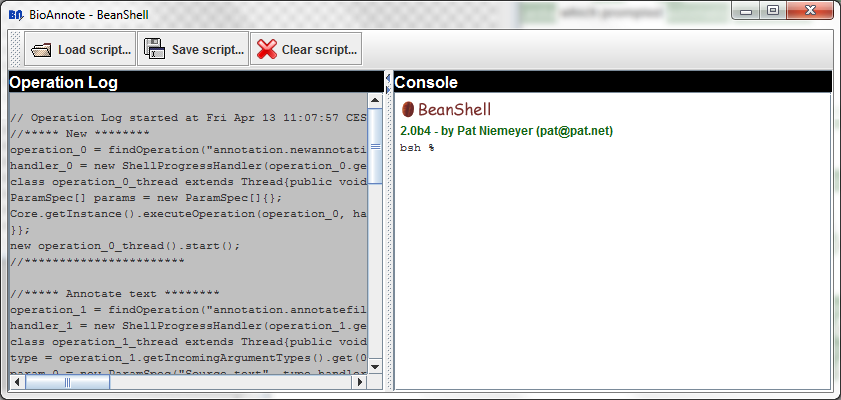
Now, there are to ways to launch the script and perform the batch annotation:
- Copy and paste the script into the console and type Enter.
- Use the
 button which automatically runs the script.
The script will do the following:
- Load all the documents in the directory.
- Add them to the data tree and open its view.
- Annotate each Source text.